Part A: Get a Number from Twilio
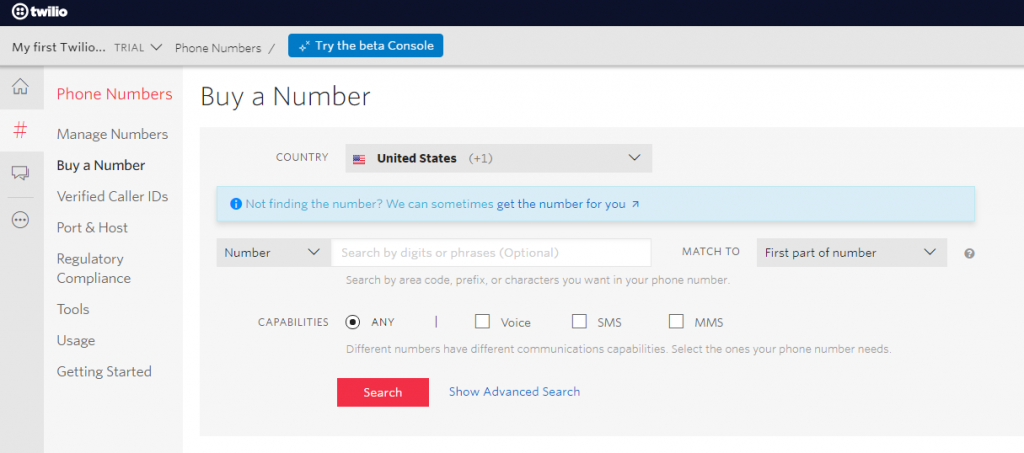
1) If you have a number, skip to 2, In the Twilio dashboard, click the hashtag (#) icon, then click “Buy a Number” from the submenu.

If you already have a Twilio number, you can use that number and skip this step. We recommend you select “ANY” for the maximum capabilities.
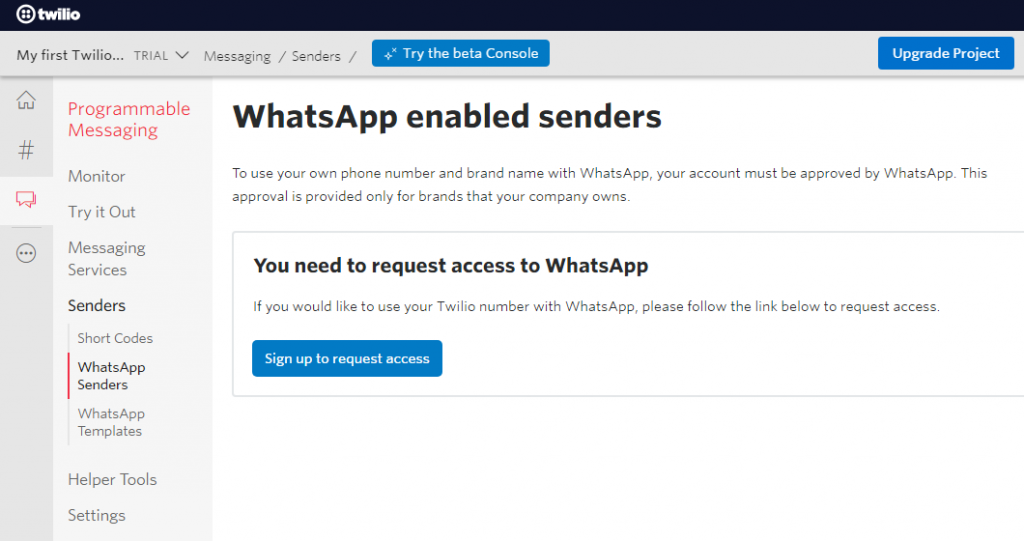
2) If you have an approved number for WhatsApp, you can skip to Part B. Click on the chat bubble icon in the left sidebar, then click on “Senders”, then click “WhatsApp Senders”

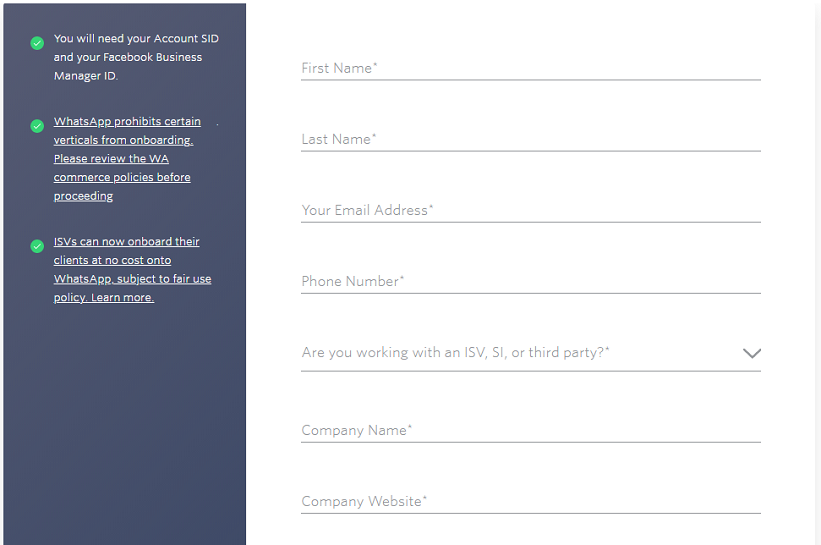
Click the “Sign up to request access” button. On the next page, the button sends you, you’ll fill out a form.

After filling the form, click on the “Request Now” button below. This process might take a couple of business days for Twilio to review.
Part B: Connection with Juphy
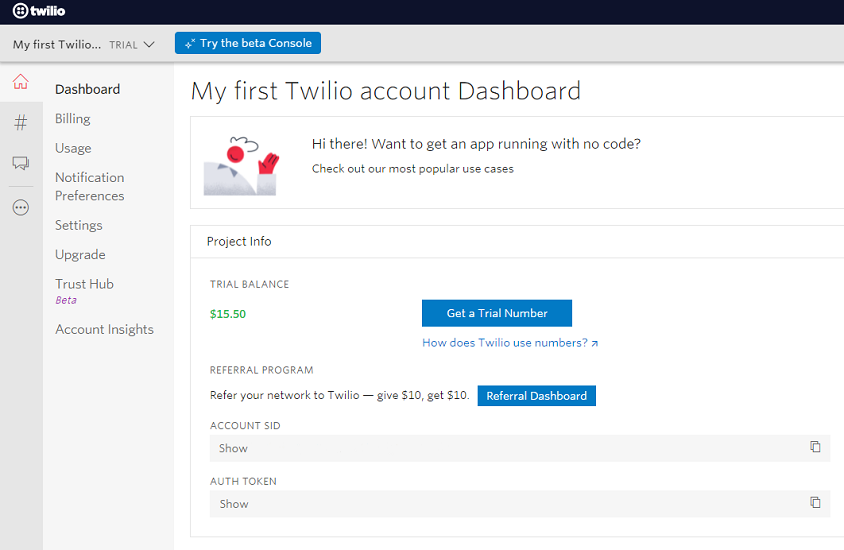
1) Once the number is approved, you’re ready to make the connection between Juphy and Twilio. Firstly, go to your Twilio Dashboard by clicking on the house icon from the left sidebar, then click “Dashboard” from the submenu. Copy your “Account SID” and “Auth Token” from that panel. These will be needed in the next step.

2) Go to “Channels” and “WhatsApp” in the Juphy interface.

Fill out the form with your Account SID, Auth Token, and your Twilio number, click on the “Connect” button.
Congratulations! You have now successfully connected your Twilio number with Juphy!